
Each document slot tracks structured data fields alongside the file itself: registration numbers, issue and expiry dates, and anything else the document type calls for. ComplyWise fills them for you where it can, and you stay in control of every value.
Before you start
- Editing fields requires the Contributor, Editor, or Workspace Admin role.
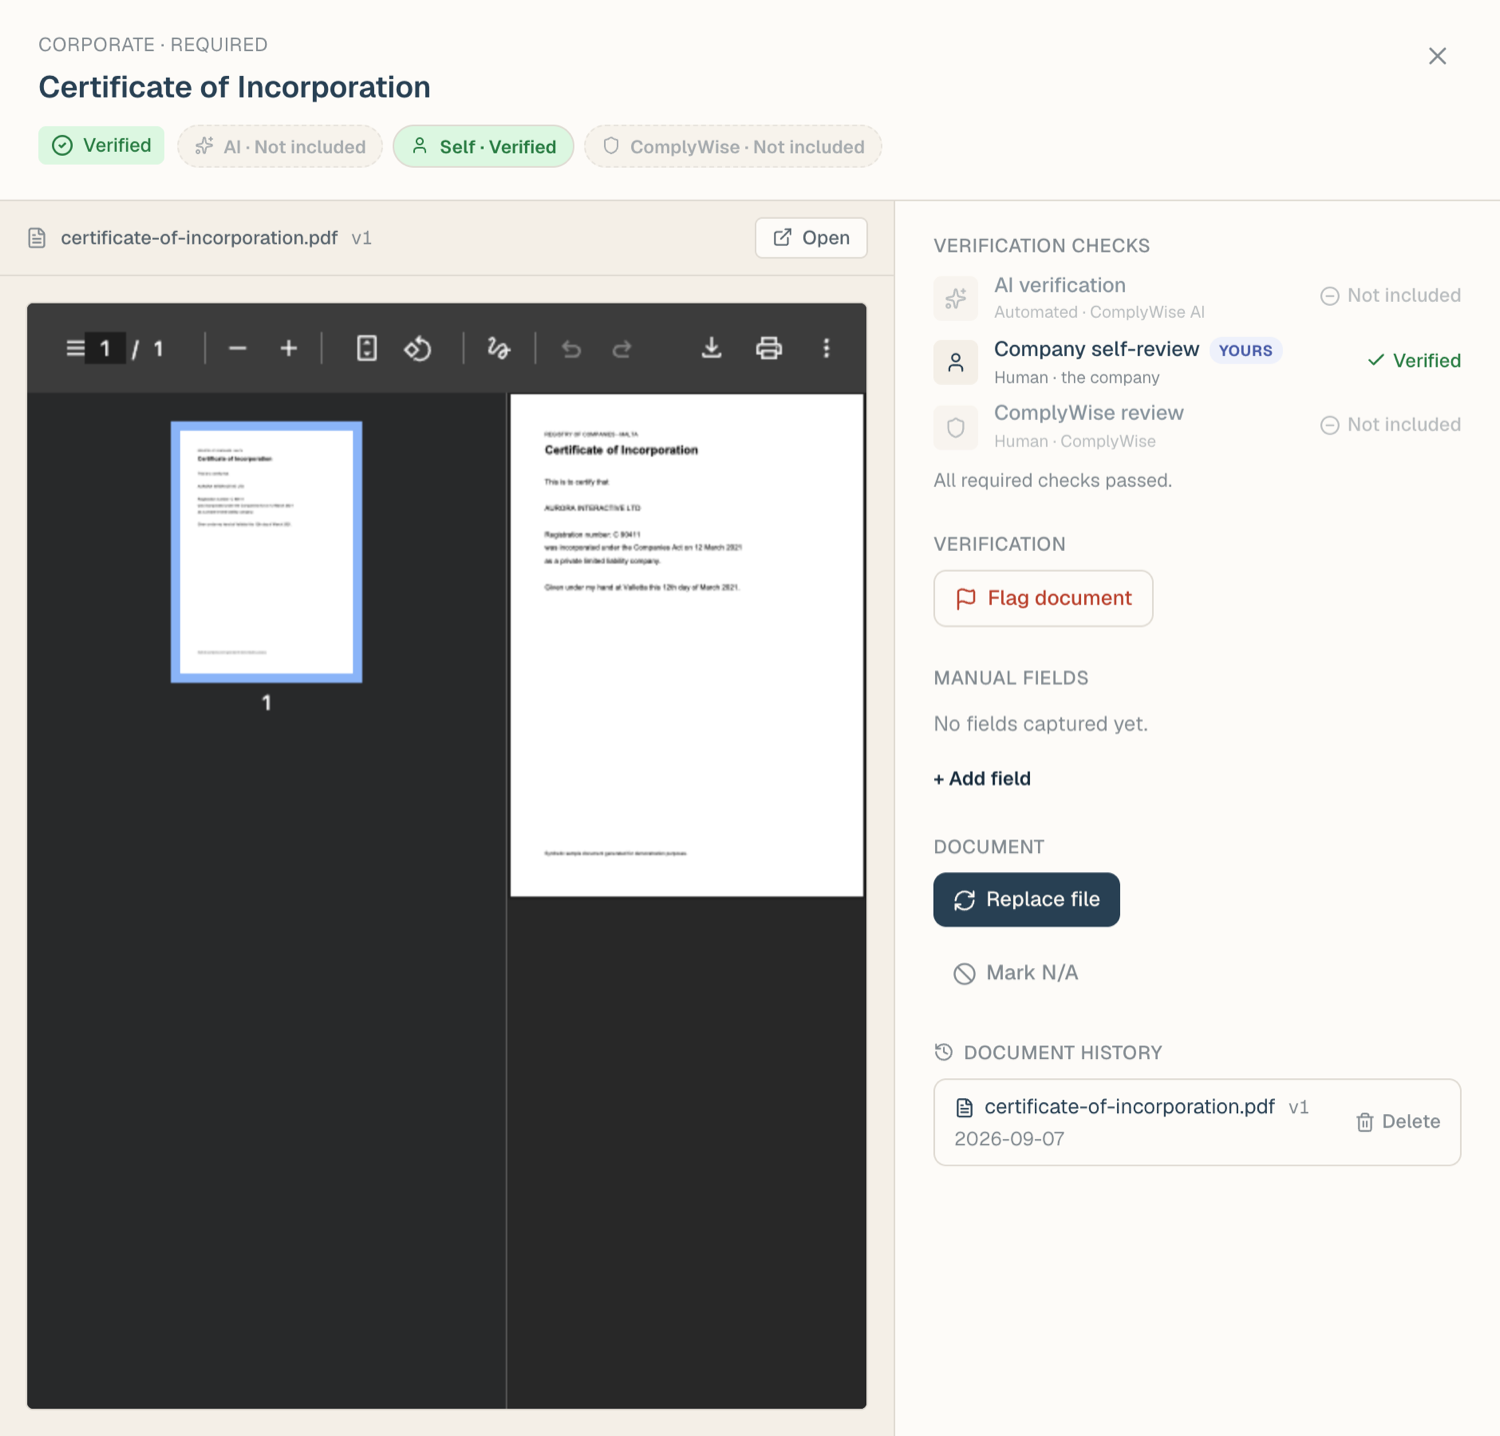
- Fields live in the slot drawer: open the entity's Business Docs tab and click a slot. Documents on a party page in the Relationships section open the same drawer.
Automatic extraction after upload
When you upload a document, ComplyWise reads key values from it (document number, issue date, expiry date) and fills the slot's fields. What it records depends on the document type: a type with a printed expiry gets the printed date, while a type judged on a freshness window gets only the issue date, and ComplyWise works the expiry out from it. Relationship documents on a party page get their dates from the Terms summary instead: the agreement's end date becomes the expiry and its effective date the issue date (see Documents on a relationship).
Two rules protect your data:
- Only empty fields are filled. A value you typed is never overwritten by extraction, even after a re-upload.
- Nothing is invented. If the document doesn't carry a value, the field stays empty for you to fill.
Values filled by extraction are marked so you can tell them apart from values a person entered.
Expiry dates that follow the issue date
On a document type with no printed expiry, the expiry field is calculated: issue date plus the type's freshness window, shown with an issue date + 3 months tag. Change the issue date and the expiry moves with it. The moment you type an expiry of your own, or clear the calculated one, the value stops following and stays exactly as you set it. Opening Edit fields keeps whatever the AI captured.
Edit a field value
- Open the slot drawer.
- Click into the field and type the new value; dates use a date input.
- Save. Your value now wins: later uploads won't touch it.
Add your own fields
Each slot can carry custom fields beyond what the document type tracks:
- In the slot drawer, click + Add field.
- Give the field a label and choose its type: text or date.
- The field appears with the slot's other fields and behaves the same way. You can edit or remove it later.
Custom fields are per slot, so a field you add to one entity's Certificate of Incorporation doesn't change any other slot.
Accept AI-suggested fields
Sometimes extraction reads a value the slot doesn't track at all. Instead of discarding it, ComplyWise shows it in a card in the drawer: fields the AI read that this document doesn't track yet.
For each suggestion you can:
- Add field: creates the custom field and fills it with the read value in one click.
- Dismiss: drops the suggestion. With two or more suggestions, Dismiss all clears the card in one go.
Suggestions are advisory only; nothing is added to the slot until you accept it.
Related articles
- Upload documents into your KYB record: what else runs after upload
- Document statuses: how fields relate to expiry tracking
- Verification & review: the checks that run alongside extraction