
Your workspace can hold as many teammates as you need, each with a role that controls what they can do. This article covers inviting people, understanding what a role grants, and rescuing an invitation that never got claimed.
Before you start
You need the Workspace Admin role to invite members and change roles.
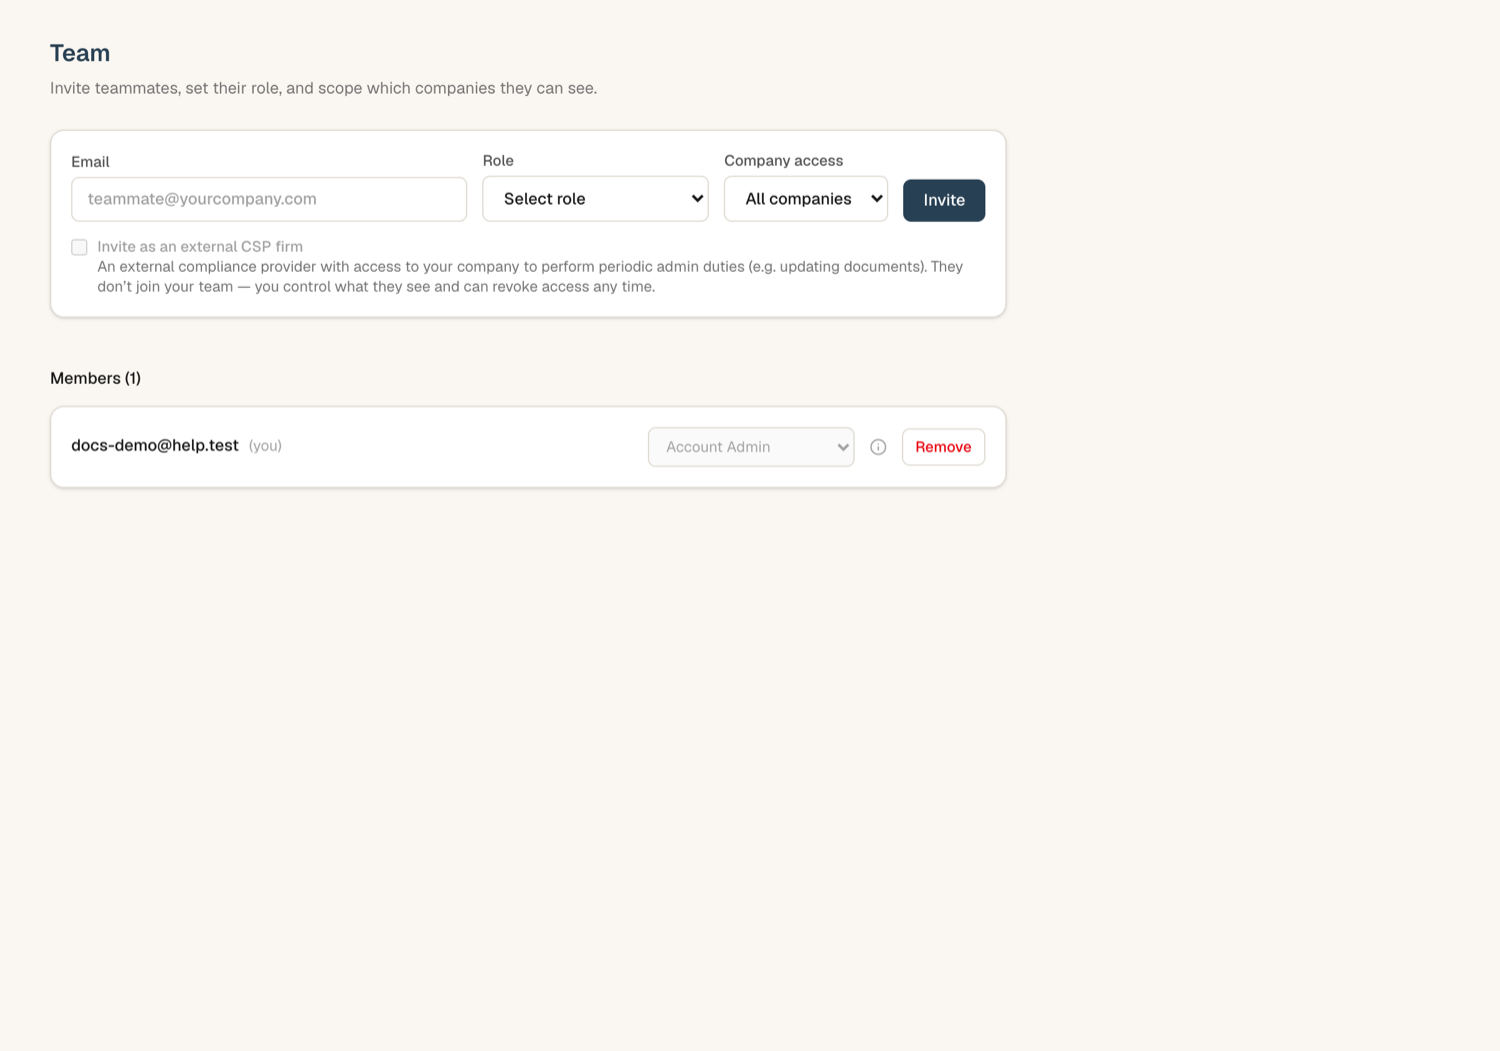
Invite a teammate
- Open Team in the sidebar.
- In the invite form, enter the teammate's email address and pick a role. You can also type their full name: it shows on the team list straight away and is pre-filled on the page where they set their password, so they only confirm it.
- As you pick, the form shows exactly what that role can do, grouped by area, with destructive abilities (like deleting documents) highlighted in red. Read it before you confirm: this is precisely what you're granting.
- Send the invitation. ComplyWise emails the person an invitation, and also shows you a copyable one-time link as a fallback you can pass on directly.
The new member appears in the list with an Invited chip until they claim the invitation and set a password. Once they sign in, the chip disappears.
The roles
| Role | In short |
|---|---|
| Workspace Admin | Everything: team, roles, settings, billing-level controls, plus all compliance work |
| Editor | Full compliance work: documents, reviews, screening, e-sign, sharing, AI tools; no team or workspace administration |
| Contributor | Day-to-day KYB Manager work: manage entities, people, and documents, decide reviews, share KYB records; no deletions |
| External Auditor | Read everything they're scoped to plus the audit log; change nothing |
| View Only | Read everything they're scoped to, change nothing |
The picker lists roles from most to least access. In a CSP firm's own workspace one more role appears, CSP Firm Staff, for the firm's employees; ordinary company workspaces never see it.
Each member row shows the same capability breakdown as the invite form, so you can audit what anyone holds at a glance. Expand a row to limit access: which companies the member can see, and which product modules they can open.
A module grant is visibility only; the role decides what the member can do inside it. A module chip the member's role cannot use renders greyed and cannot be switched on, and hovering it names the permission that is missing. Change the role first, then grant the module. The collapsed summary counts only modules the member can actually open, so "Limited · 1 company · 2 modules" means two working modules, not two ticked boxes.
Reissue a dead invitation
Invitation links are one-time and can go stale. If a teammate reports their link doesn't work:
- Open Team and find the member with the Invited chip.
- Choose Reissue invite.
- A fresh invitation email goes out, and you get a new copyable one-time link. The old link is dead.
Reissue only works for accounts that have never signed in. Once someone has claimed their account, no admin can mint a sign-in link for them; if they're locked out, they should use the normal password reset instead.
Related articles
- Workspace settings: the rest of workspace administration
- Audit and accountability: how member actions are recorded
- Credits and entitlements: what your workspace has enabled